43.2.10.1. Clone Body Change Tool
The link body of the belt, chain, track hm, and track lm assembly is a clone body. So you cannot use general entities such as Contact and Force supported by Professional, nor can you directly create FFlex Body using RecurDyn/Mesh. One of the recommended ways to use them is to convert existing clone bodies into general bodies. In this application, you uses ProcessNet to convert the clone link body of the Belt, Chain, Trach HM, and Track LM (CAD Link is not support) assembly into a general body, creating a Force and a Contact between the bodies.
43.2.10.1.1. To run the application
In RecurDyn, on the Customize tab, in the ProcessNet(General) group, click Run.
clonebodychange.dll DLL file is loaded. (file path: <Install Dir>\Bin\Addin)
In the tree in the lower half of the Run ProcessNet dialog window, click RegisterFunction under SimpleBeltSystem.
In the Run ProcessNet dialog window, click the Run button.
The icon is registered on the ribbon menu.
43.2.10.1.2. Converting Clone Link Body into General Body
To create FaceSurface in the clone link body
Create a FaceSurface on the face where you want to create a Contact. Since you can also create a Contact on the face, create only one FaceSurface.
Enter the Belt Subsystem Edit Mode.
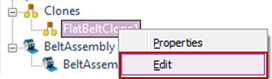
Use the following method to enter the Edit mode of the FlatBeltClone1 body.
In Database, right-click FlatBeltClone1.
When a pop-up menu appears, click Edit.
On the Geometry tab, in the Surface group, click Face.
Set the Creation Method to Face.
Enter FlatBelt1.Face2 on the input bar.
Right-click on the working window and click Exit to exit the Edit mode.
43.2.10.1.3. To convert the clone link body
Convert the clone link of the open belt model to General using the ProcessNet functions you have written so far.
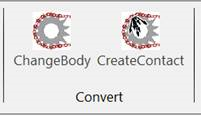
On the Customize tab, in the Convert group, click ChangeBody.
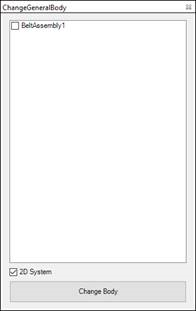
Uncheck 2D system.
In the ChangeGeneralBody dialog window that opens, select Belt Assembly1 and click the ChangeBody button.
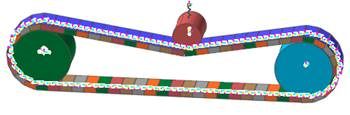
You can see that the clone link body has been converted into a general body as shown in the following figure.
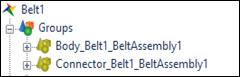
In the Database window, you can see that Body_Belt1_BeltAssembly1 and Connector_Belt1_BeltAssembly1 have been created. Select each group to see the result of creation.
43.2.10.1.4. To create a Contact
On the Professional tab, in the Contact group, click GeoSur.
Change the Creation Method to Surface(PatchSet), Surface(PatchSet).
Create a Geo Surface Contact by typing the values in the table shown below.
Contact
Action
Base
GeoSurContact1
FlatBelt50.FaceSurface1
Roller3.Roller1.Face3
GeoSurContact2
Fl atBelt16.FlatBelt1.Face4
Roller1.Roller1.Face3
GeoSurContact3
Fl atBelt17.FlatBelt1.Face4
Roller2.Roller1.Face3
On the Customize tab, in the Convert group, click CreateContact.
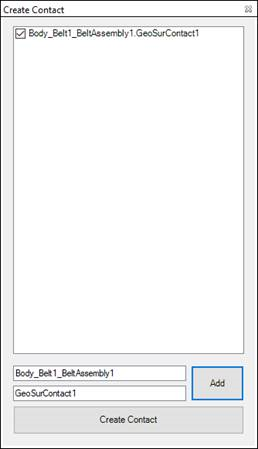
The first text box is the link group body and the second text box is the contact. You can also drag and drop from the data base.
Click Add.
Make sure that the created Contact is checked and click Create Contact.
Confirm that the Contact has been created.