4.8.1.1. Step to create DLL
4.8.1.1.1. Run Microsoft® Visual Studio
Select New in the File menu. (Displayed as Figure 4.97.)
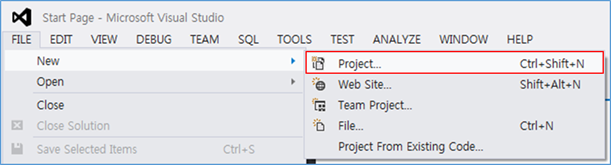
Figure 4.97 Opening New Project
Select the Project.
The New Project Window is displayed as Figure 4.98.
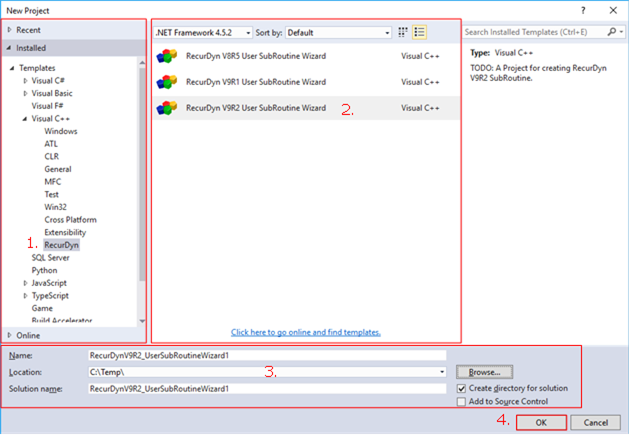
Figure 4.98 New Project Window
Select RecurDyn in Visual C++ Project. (In the case of creating the FORTRAN project, you should select Visual C++.)
Select RecurDyn User SubRoutine Wizard in Templates.
Define Name, Location, and Solution Name.
Click OK.
RecurDyn User SubRoutine Wizard Window is displayed as Figure 4.99.
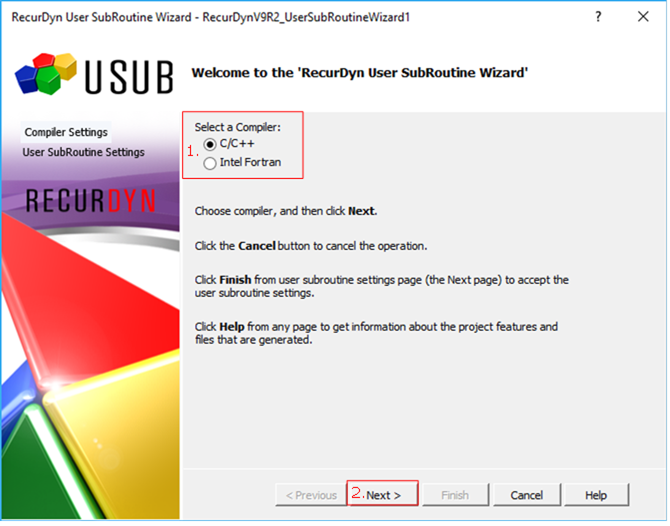
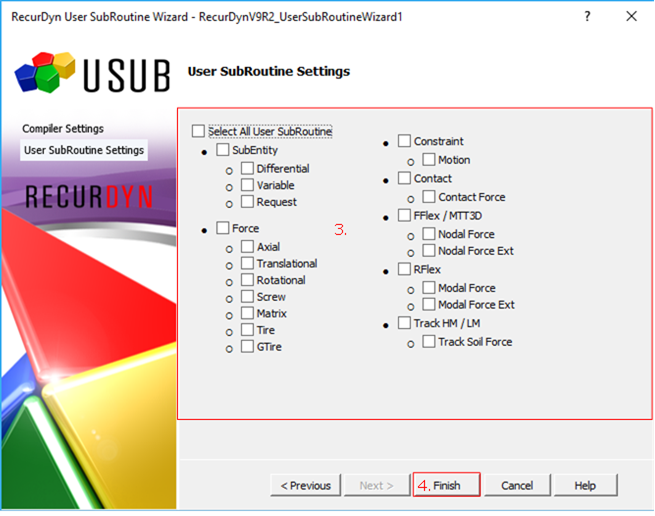
Figure 4.99 RecurDyn User SubRoutine wizard Window
Select a Compiler as C/C+ or Intel FORTRAN.
Click Next.
Select a desired User Subroutines.
Click Finish.
In the case of the C++ project, follow the next steps. (Displayed as Figure 4.100.)
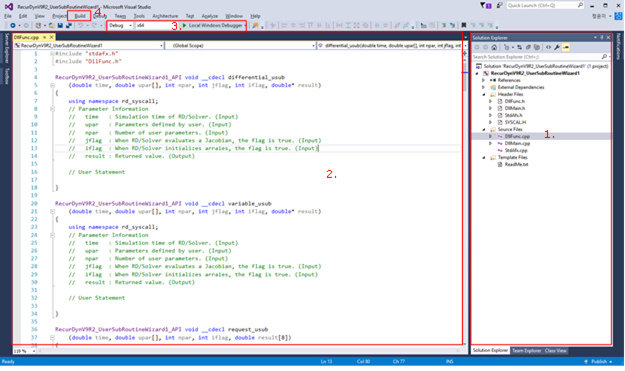
Figure 4.100 C++ Project
Open the DllFunc.cpp file.
Implement user’s codes in the DllFunc.cpp file.
Select the Debug option or the Release option.
Create the user DLL file by using the Rebuild Solution option or the Build Solution option of Visual Studio 2015.
In the case of the FORTRAN project, follow the next steps. (Displayed as Figure 4.101.)
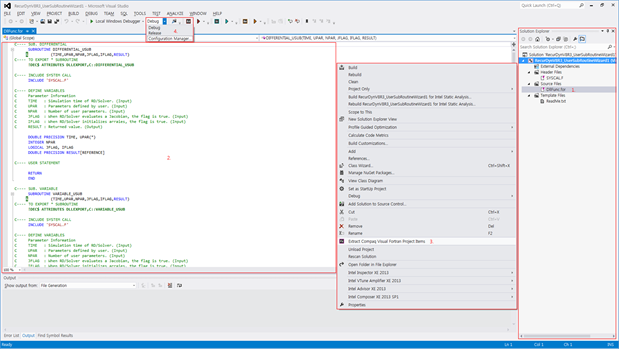
Figure 4.101 Fortran Project
Open the DllFunc.for file.
Implement user’s codes in the DllFunc.for file.
Select Extract Compaq Visual Fortran Project Items after clicking the right of the mouse on the project name in Solution Explorer.
Select the Configuration Manager option.
Select the <New…> option of Active Solution platform in the Configuration Manager dialog box as shown in Figure 4.102.
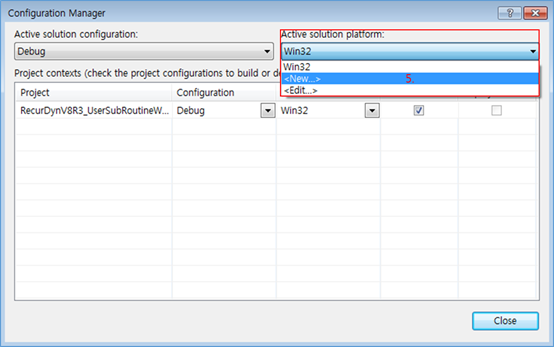
Figure 4.102 Configuration Manager dialog Box
Click OK in the New Solution Platform dialog box as shown in Figure 4.103.
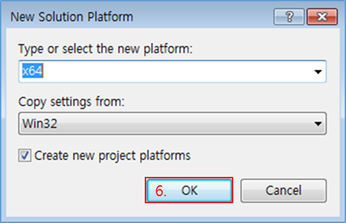
Figure 4.103 New Solution Platform dialog Box
Select the Debug option or the Release option as shown in Figure 4.104.

Figure 4.104 Selecting the Debug or the Release Option
Create the user DLL file by using the Rebuild Solution option or the Build Solution option of Visual Studio 2015.