2.4.3.1. Select Box
You can select entities and markers by Select Box in the right click menus. The Select Box command helps the user selects a entity or marker out of a set of overlapped entities. Also, you can create a joint, force or contact force by using the Select Box command. As you create the joint, force or contact, its command can be used in case of the “Body, Body, Point” creation option.
Step to use Select Box
Click the Solid Contact icon in the Contact ribbon of the Professional tab.
Click the right mouse button on Working Window around the desired part to select a surface as base body. Then, right-click menu appears as below figure.
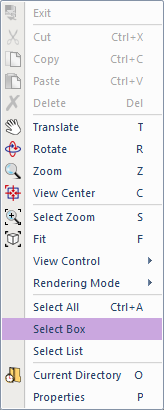
Figure 2.162 Select Box in Right-click Menu
Click Select Box. Then, a select box as below figure appears.
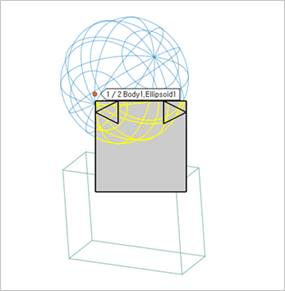
Figure 2.163 Select Box
Select the desired entity.
Repeat the step 2~4 to select the other surface as action body.
Tip
You can see the left arrow, right arrow, and the information of entity name.
You can see the selected entity now by the information of entity name. Also, you can see it by the highlighted part.
To select the desired part lastly, you can click the remained part except arrows in the select box.